TL;DR
- Prep is 70% of the work on an exterior stucco repaint and 100% of the reason paint jobs fail early.
- The full order: wash, dry, crack repair, efflorescence treatment, caulking, spot-priming, two coats.
- Hairline stucco cracks get elastomeric patching compound. Larger cracks get stucco patch and texture match.
- Elastomeric coatings vs. standard acrylic: elastomeric for crack-prone walls, acrylic for sound walls.
- Never skip the caulk step. Open seams at trim and flashings let water in under the paint film.
A San Diego stucco paint job that fails in 3 years almost always fails because of prep, not paint. The paint didn’t stick, water got behind it, or the substrate was still shedding chalky old paint underneath. This post walks through the actual prep sequence a proper exterior stucco repaint should follow, and the most common shortcuts that kill the job.
Why does stucco need special prep?
Stucco is porous. It absorbs moisture, breathes with temperature, and cracks as the wall expands and contracts across seasons. Unlike wood siding (which moves more but is less porous) or fiber cement (which moves less and is denser), stucco has a middle-ground behavior that needs a specific painting approach.
The three stucco-specific prep steps that painters skip:
- Dealing with chalking. Old latex paint on a sun-exposed wall oxidizes and turns to chalk. Fresh paint over chalk won’t bond, it peels off in sheets within a year or two.
- Neutralizing efflorescence. White crystalline deposits on stucco (from moisture wicking minerals to the surface) have to be washed and neutralized before priming. Paint over efflorescence keeps bleeding through.
- Flexing the coating to match the wall. Stucco cracks. If the coating can’t flex with those cracks, the cracks show through the fresh paint within a year.
Get these three right, plus the standard prep, and the paint job lasts 8–12 years. Skip any of them, and you’re repainting in 3–5.
The full stucco prep sequence
Here’s the order a proper exterior stucco paint job runs in:
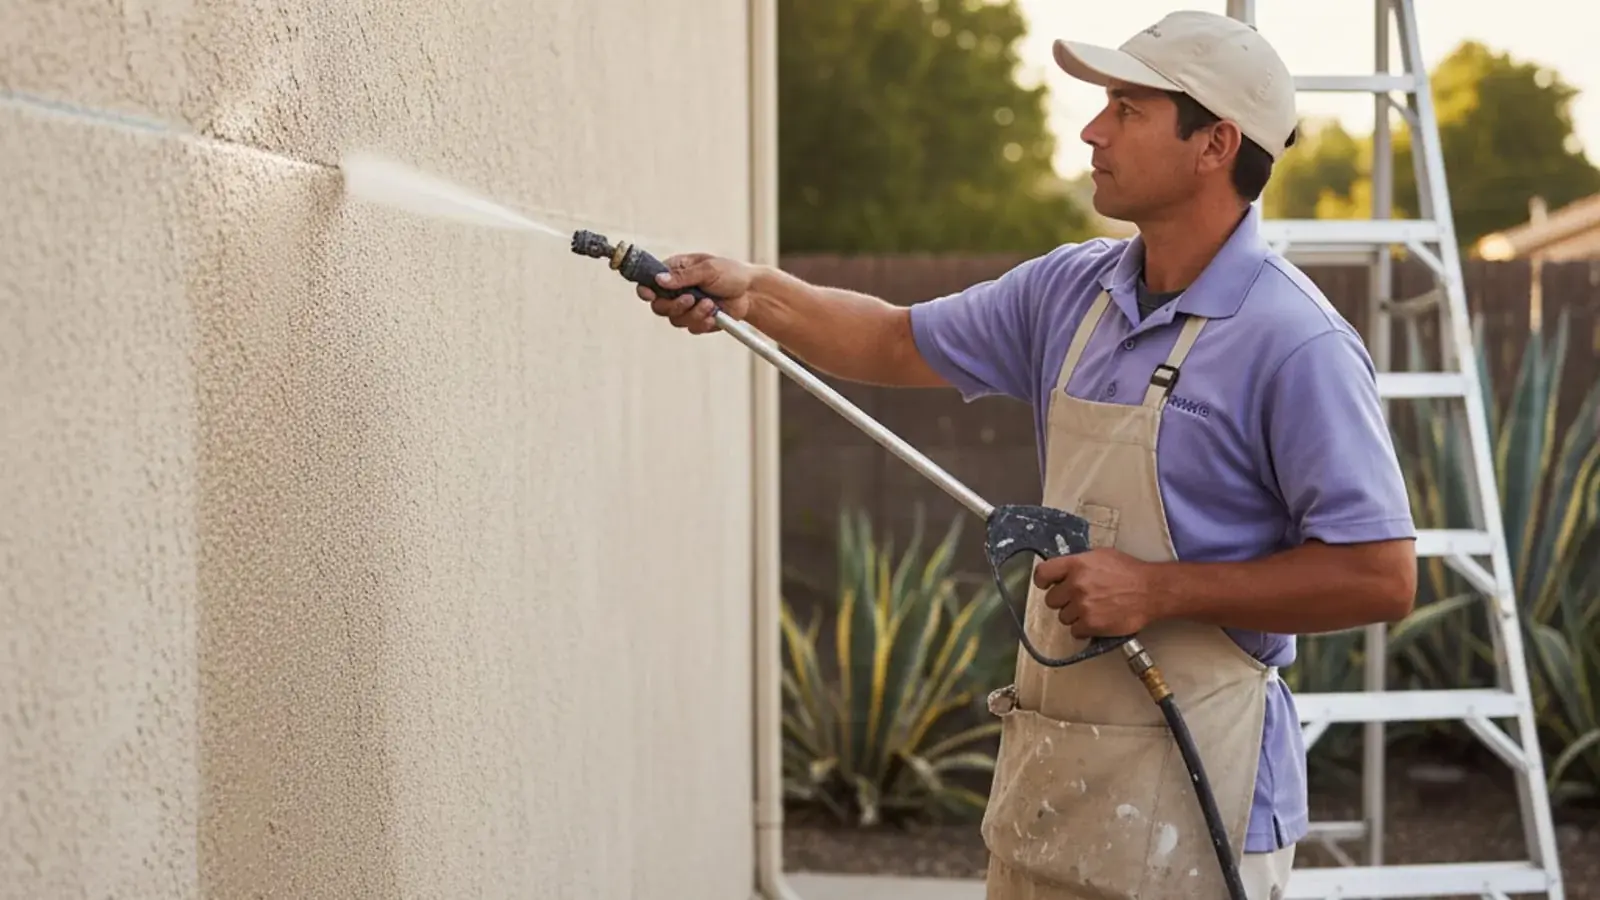
1. Pressure wash (day 1)
Pressure wash the entire exterior with a 40° tip, holding the wand 12–18 inches from the wall. Pressure set at 2,500–3,000 PSI. Goals:
- Remove chalking (you’ll see chalky runoff come off in the first pass)
- Remove mildew and algae streaks (south and shaded sides usually)
- Remove dirt, spider webs, and cobwebs
- Flush cracks so patching compound can bond
Soft-wash for any delicate surfaces, older stucco, painted wood trim, or single-wythe stucco on older homes. A too-aggressive wash can gouge texture or open cracks wider.
Let it dry 24 hours before doing anything else. Painting over damp stucco traps moisture under the film.
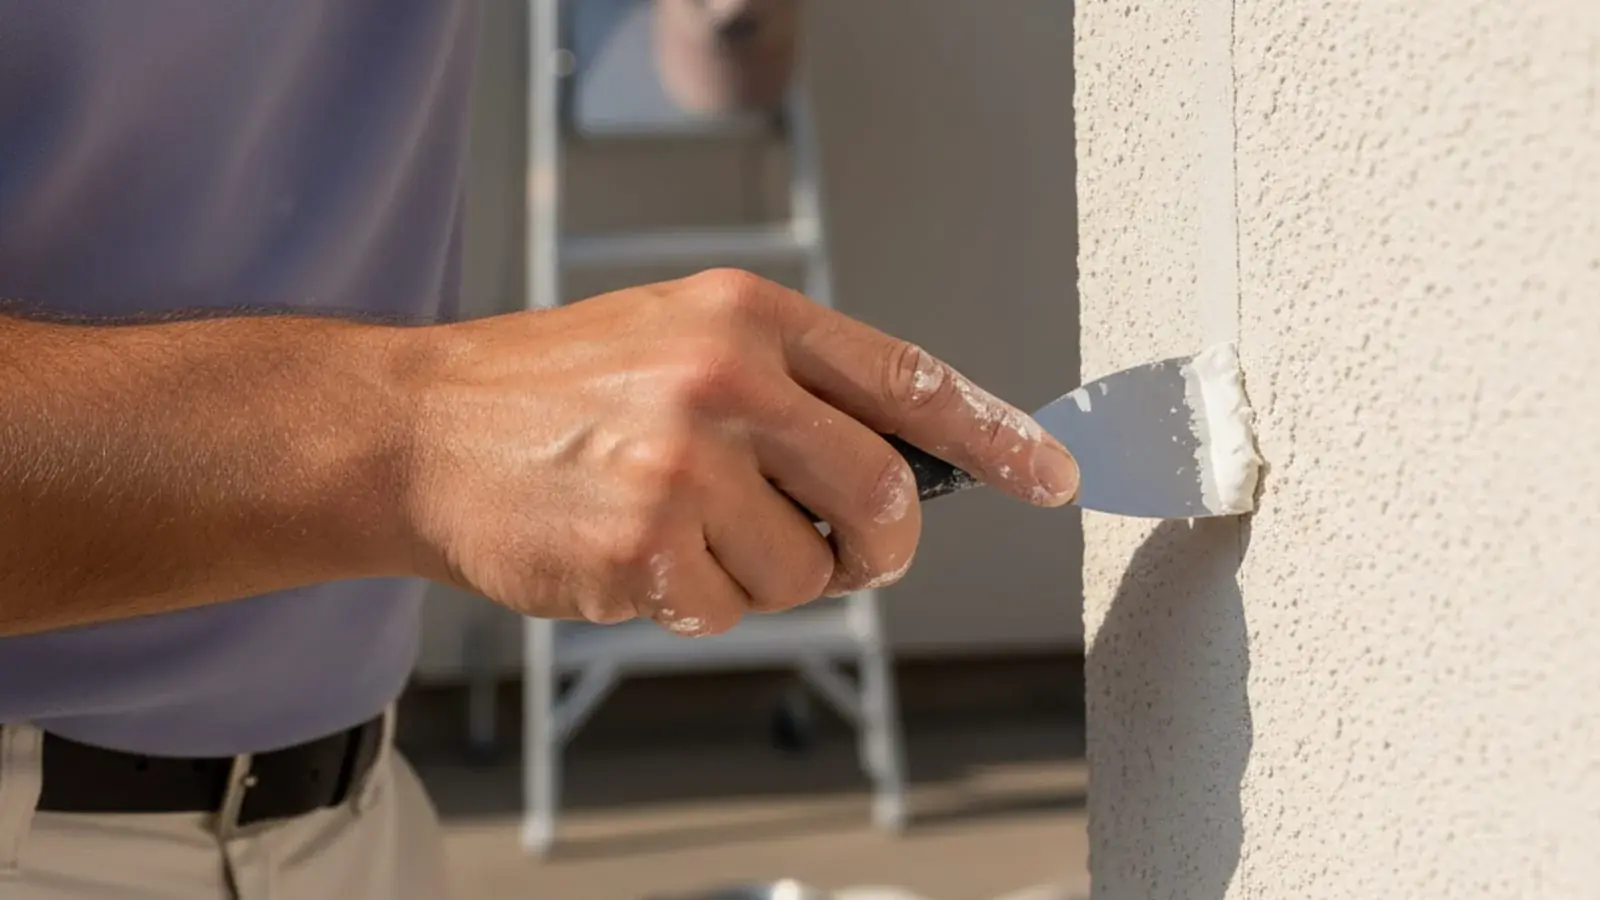
2. Crack repair (day 2)
Walk every elevation with a flashlight, noting every hairline crack and larger defect. Categorize:
- Hairline cracks (under 1/16”): Brush out with a wire brush to clean the crack edges. Fill with elastomeric patching compound, tooled flush.
- Larger cracks (1/16”–1/4”): V-groove the crack to widen the bottom, dust out thoroughly, apply a bond coat, fill with stucco patch, and texture-match to the surrounding wall.
- Chips, spalls, and damage: Cut back to sound stucco, repair with matching stucco patch, float, and texture-match.
- Rust stains from embedded nails or rebar: Expose the metal, treat with rust converter, encapsulate with oil-based primer, then patch stucco over it.
Texture-matching is the skilled part. Smooth stucco, sand finish, dash coat, lace, and knockdown all require different tools and wrist movement. We do sample patches and let the homeowner see the match before committing to the real repair.
Let everything cure per the patching compound’s instructions, typically 24 hours minimum.
3. Efflorescence treatment (day 2 or 3)
If you see white crystalline deposits on the stucco (usually near the base of walls or around windows where water penetrates), scrub with a masonry neutralizer solution, rinse thoroughly, and let dry. Skipping this step is how efflorescence “comes back” through fresh paint, because it never actually left.
4. Caulking (day 3)
Apply paintable elastomeric or acrylic caulk to every:
- Trim-to-stucco seam
- Window flashing gap
- Door frame gap
- Stucco-to-fascia transition
- Stucco-to-roofing transition
- Corner of attached trim elements
This is the step that protects the wall from water intrusion long-term. Open seams let water migrate behind the paint and under the stucco, which leads to delamination, bubbling, and mold. Tool the caulk beads smooth with a wet finger or caulk tool so they blend into the wall after painting.
Let caulk set up per manufacturer instructions, usually 2–4 hours before painting over.
5. Priming (day 3 or 4)
Spot-prime areas that need it:
- All patched stucco (with masonry primer or bonding primer)
- Raw wood trim exposed during prep
- Rust stains (with oil-based stain-blocker)
- Tannin-bleed areas on fir or redwood trim
A full prime coat is usually only needed on bare unpainted stucco, dramatic color changes (dark to light), or when the manufacturer specs it (elastomeric coatings sometimes require a dedicated primer).
6. First finish coat (day 4 or 5)
Spray-and-back-roll the first finish coat. The spray gets paint into the stucco’s texture valleys; the roller works the paint into the peaks and drives out pinholes.
- Standard acrylic (Sherwin-Williams SuperPaint Exterior, BM Regal Select Exterior): 1.5–2 mils dry film thickness per coat. Good for sound stucco with no active cracking.
- High-build acrylic (SW Emerald Exterior, SW Loxon XP): 3–4 mils per coat. Better fill for mildly rough or chalky stucco.
- Elastomeric (SW Loxon XP Elastomeric, BM Moorlastic): 6–10 mils per coat. Bridges hairline cracks, flexes with the wall.
Let the first coat dry per manufacturer recoat window, typically 4 hours at 70°F, longer if cooler or humid.
7. Second finish coat (day 5 or 6)
Same application method as the first coat. Even pass, wet edge, no missed spots. A proper second coat brings the total dry film thickness into spec and gives you the full warranty from the paint manufacturer.
8. Trim, doors, fascia, and details (ongoing)
Paint the trim, fascia, eaves, garage door, front door, and window casings with compatible coatings. Usually a premium exterior acrylic enamel for trim (semi-gloss or satin sheen), often in a contrast color to the field coat.
Elastomeric vs. acrylic: which should you use?
| Factor | Elastomeric | Premium Acrylic |
|---|---|---|
| Crack-bridging | Excellent (up to 1/32”) | Poor |
| UV stability | Excellent | Very good |
| Film thickness | Thick (6–10 mils) | Standard (1.5–2 mils) |
| Breathability | Lower (can trap moisture) | Higher |
| Longevity in SD sun | 10–15 years | 8–12 years |
| Cost premium | +20–30% | Baseline |
| Best for | Cracking stucco, problem walls | Sound stucco in good condition |
If the wall has active cracking, previous paint failure, or water intrusion issues, elastomeric is usually the right call. If the stucco is sound and you just need a color refresh, premium acrylic saves money without sacrificing longevity.
Shortcuts that kill the paint job
Painters who quote suspiciously low usually skip one or more of:
- No pressure wash. “We’ll just scrape loose paint” leaves chalking and dirt that the new paint can’t bond to.
- No crack repair. Painting over cracks without filling them means the cracks telegraph through within a year.
- No efflorescence treatment. The white deposits keep migrating up through the fresh paint.
- No caulking. Water gets in behind the paint at trim seams, causing bubbling and peeling.
- One coat. Saves 40% of the labor and materials but leaves the paint at 1/3 the spec thickness.
- Painting at the wrong temperature. Acrylic needs 50°F and rising with no rain for 4 hours after application. Painting into a cold, wet evening traps moisture.
What it should cost
Full-exterior repaint on a typical San Diego home:
- Single-story stucco, ~1,600 sqft, premium acrylic: $4,800–$6,500
- Single-story stucco, ~1,600 sqft, elastomeric: $5,800–$7,500
- Two-story stucco, ~2,400 sqft, premium acrylic: $7,500–$9,800
- Two-story stucco, ~2,400 sqft, elastomeric: $8,800–$11,500
Prices include pressure wash, crack repair, caulking, priming where needed, two finish coats, and trim. HOA communities often have slightly tighter pricing because of volume and approved color palettes.
Frequently asked questions
How do you prep stucco before painting? The full sequence is: pressure wash, let dry 24 hours, repair cracks, treat any efflorescence, caulk every trim and window seam, spot-prime patched areas, then apply two finish coats. Each step has to be done in order. Skipping any of them is the most common reason a San Diego stucco paint job fails early.
Do you need primer on stucco before painting? You need spot primer on every patched area, any raw wood trim, and any rust stains. A full prime coat is required on bare unpainted stucco, dramatic color changes, or when the paint manufacturer specifies it (elastomeric coatings sometimes call for a dedicated primer). Sound stucco with existing paint in good condition typically gets spot priming only.
How long do you let stucco dry before painting? After pressure washing, let the stucco dry at least 24 hours before any other work. After crack repair, let patching compound cure per the product instructions, usually another 24 hours minimum. Painting over damp stucco traps moisture under the paint film and causes early failure.
Should you pressure wash stucco before painting? Yes, pressure washing is non-negotiable. A 40° tip at 2,500 to 3,000 PSI removes chalking, mildew, algae, and dirt that fresh paint cannot bond to. Paint applied over chalky stucco peels off in sheets within a year or two. For older or delicate stucco, use a soft-wash approach to avoid gouging the texture.
What are the most common stucco prep mistakes? The most common shortcuts that kill a paint job: skipping the pressure wash and just scraping loose paint, not filling cracks before painting, skipping efflorescence treatment so white deposits bleed through the fresh coat, and leaving open seams at trim and window flashings without caulk. One-coat applications and painting into cold or wet conditions round out the list.
Elastomeric or acrylic paint for San Diego stucco? Use elastomeric if the wall has active cracking, previous paint failure, or water intrusion history. It bridges hairline cracks and lasts 10 to 15 years in San Diego sun. Use premium acrylic if the stucco is sound and you’re doing a straight color refresh. It lasts 8 to 12 years and costs 20 to 30% less than elastomeric.
Ready for an exterior repaint?
The only way to know what your specific home needs is a walk-through. We come out for free, walk every elevation, assess prep needs, and give a written flat-rate quote with the specific paint system we’d use and why. See the full exterior painting scope, our stucco painting services in San Diego, our stucco painting guide for San Diego, or our exterior painting guide for San Diego, or call us.
For the broader workflow, see our stucco painting guide for San Diego and our exterior painting guide for San Diego. For repaint cadence on stucco specifically, how often to repaint stucco in San Diego.